Blender – Basic time-dependent animation driver examples

Software:
Blender 2.82

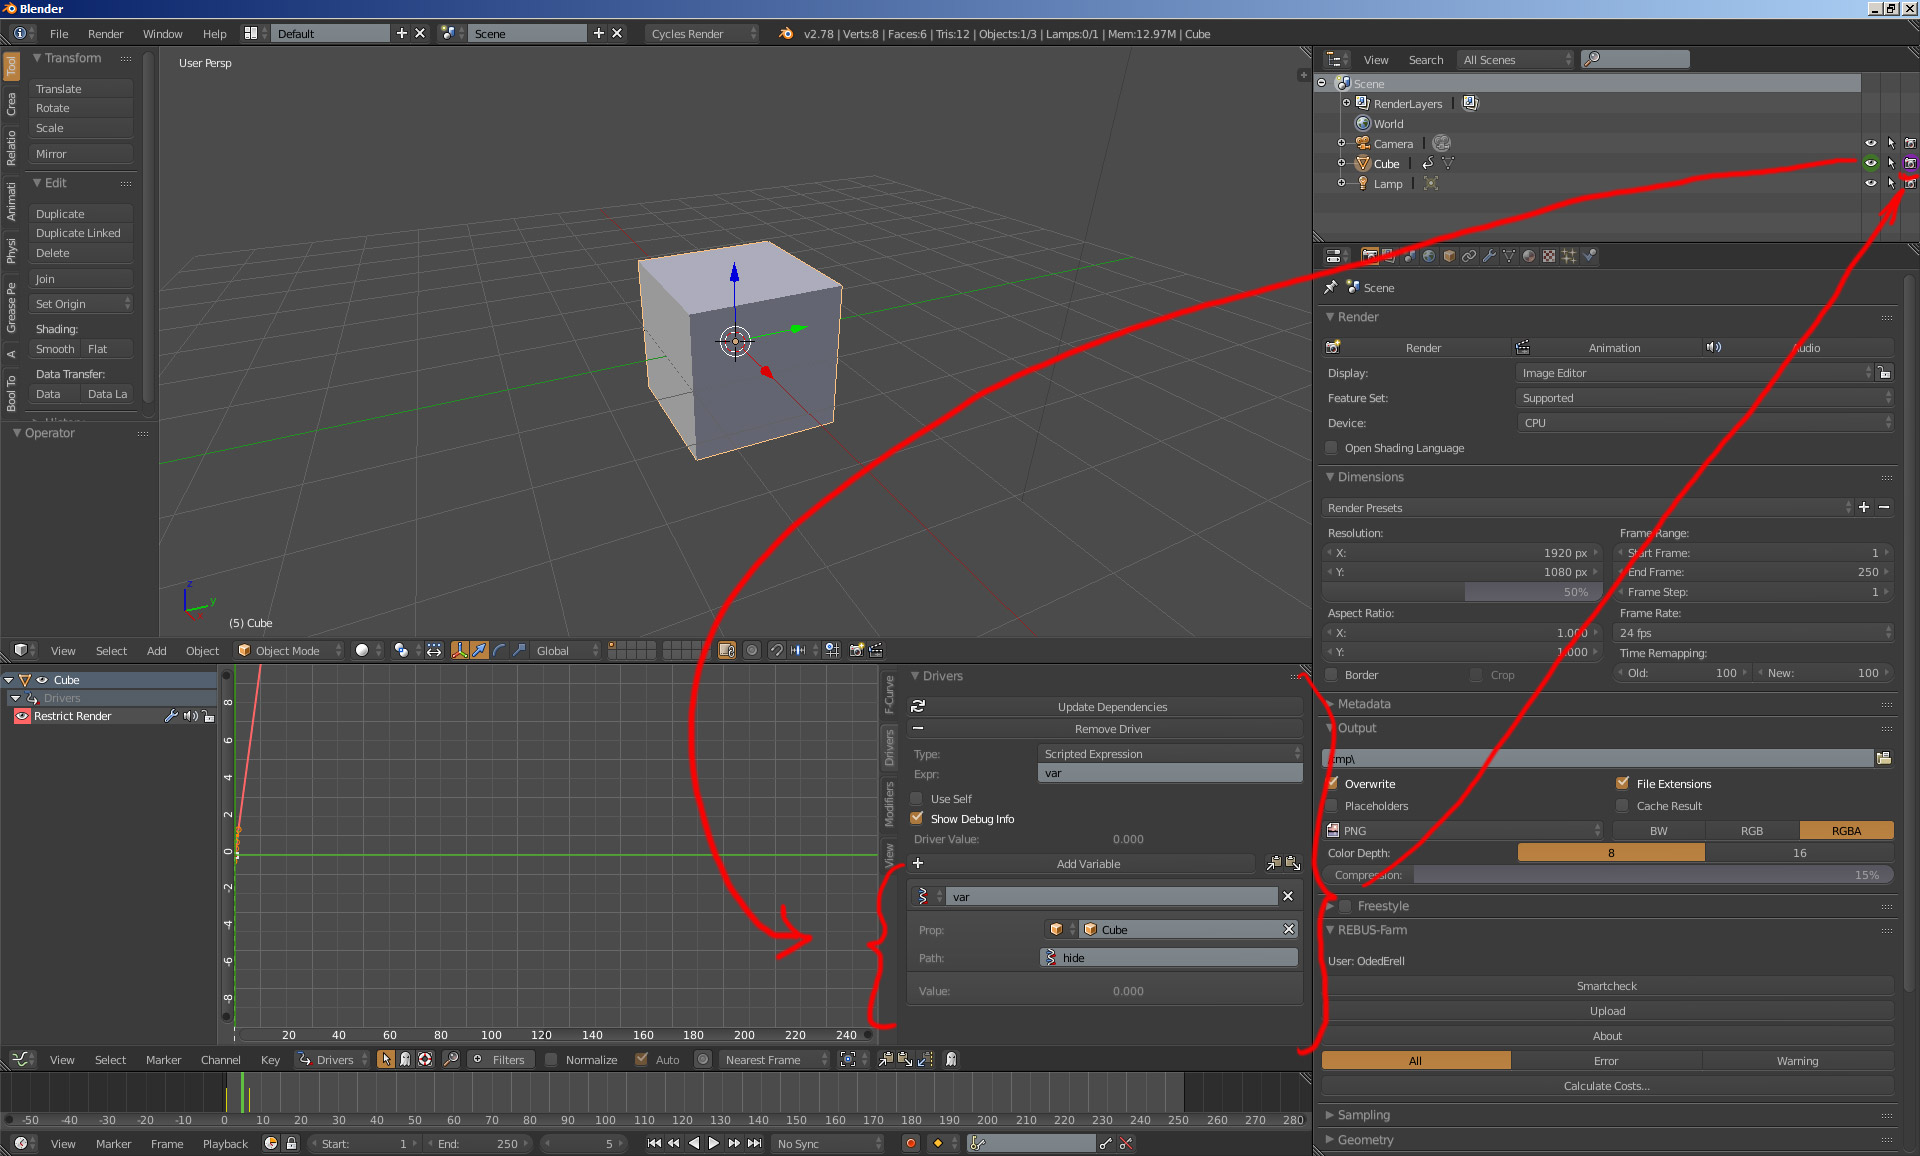
To setup a time-dependent Driver in Blender, simply use the built-in frame variable.
In this example the expression:

sin(frame)

Set as a Z axis location driver for the cube causes it to oscillate up and down:

frame_driver

Changing the expression to:

sin( frame * 0.1 ) * 2

Causes the motion to be twice as high and 10X slower:

frame_driver2


In this example, the expression:

( pow( -1 ,  floor( frame / 30 ) )  *  0.5 ) + 0.5

Set to the cube’s Emission shader’s Strength attribute causes it to alternate between values of 0 and 1 every second (30 frames in this case):

frame_driver3


Related:
Blender – Create constraints quickly

Blender – Bake NLA animation

Software:
Blender 2.79

When you wish to bake your NLA animation mix into one Action,
The Bake option in the Animation tab will not work.
The way to do this is to:

  1. Select the object in Object Mode.
  2. Press Space and type ‘bake
  3. Choose Nla: Bake Action
  4. In the Bake dialog, select Pose, deselect Only Selected, and press OK.
  5. After the process, the Armature will have a new action that is the baked animation.

Untitled-2

Untitled-3

Blender – Set Origin (pivot point)

Software:
Blender 2.79

The Set Origin Tool let’s you set the origin (pivot) for one or multiple objects.
Typical usage would be to place the 3D Cursor at the wanted location and choose Origin To 3D Cursor.
Another handy usage is after “breaking” a model into separate meshes, like separating the letters of a title for animation, selecting all the letters and choosing Origin to Geometry to set all the letters origins to their centers.

3D View > Tools panel > Set Origin

Hotkey:
Shift + Ctrl + Alt + C

Untitled-1

Animating the sample settings in Cycles

Software:
Blender 2.79

A quick Cycles rendering tip:

There are situations in which we need to render an animation with changing lighting complexity, and as a result, parts of the animation need more samples than others to be effectively rendered.
For example when the camera starts it’s movement on the outside in an exterior scene, and moves into an interior space like house or a cave, or a vehicle, in many cases, the exterior part of the animation can be rendered with much less samples than the interior part.

In such cases, rendering the whole animation with the higher sample settings will demand unneeded render time in the simpler parts of the animation.

One possible solution would be to simply render the animation in two separated render jobs with different sampling settings, one for the less demanding part and another for the more complex part and than append the two parts in an editing / compositing software. but that requires more work on the shot, more management etc.

A simple solution is to animate the sample settings in Cycles.
Make tests at different times along the animation to determine how many samples are needed at each part, and key-frame the settings accordingly.

AnimateSamples

Render layers in Blender

Software:
Blender 2.78

I find that Render layers in Blender/Cycles render are a very useful tool for creating any kind of Render passes or AOV’s needed for compositing.
You can easily create render passes with different material overrides, or use the ability to exclude scene layers to create render passes with different light sources or different geometry.
For instance, there’s no built in World Position AOV in Blender but it’s really easy to create one using a Render layer with a World Position shader override (a world position shader can be created using an ‘Input > Geometry’ node)
Or in another case,
I thought you couldn’t have a decent AO render pass (using one scene file) because the AO shader doesn’t have a distance parameter and the Environment AO (that does have a distance parameter) produces a fake GI effect that I don’t want to have in the beauty-pass,
But using render layers it’s actually pretty easy to do because a render layer can be set to not use the environment or not use AO.
Bottom line, the Render layers feature in Blender gives you huge flexibility in creating custom output images or sequences out of a single scene in a single render job (not a single render because each render layer is rendered separately).
On top of all that the output images from all the render layers don’t have to be all packed into one gigantic EXR file,
You can use compositing operations and compositing ‘File Output’ node to determine exactly how the images will be stored in folders and files.
The ‘File Output’ node will actually create folders and store the files in them so output from one render command an be automatically stored within multiple folders.
In short.. AWESOME!!

Critical reminder:
When setting up render layers make sure you don’t forget to turn them all on when your done testing, otherwise you’l come back to the studio in the morning and find that not all the needed sequences have been rendered :-\
Blender_Render_layers

Blender Sub-D impact on animation playback

Software:
Blender 2.78

I noticed that the Subdivision Surface modifier in Blender significantly slows down the animation playback even if the mesh isn’t animated,
So my advice is, either apply the modifier when possible or set it to be disabled in viewport and enabled only in rendering.

Setting up RenderPal with Blender

Software:
RenderPal 2.14 | Blender 2.78

When attempting to set up render management for Blender using the free version of RenderPal render farm software,
After dealing with the basic technical stuff of installing and configuring all the components,
I came upon a bizarre problem while testing render jobs:
The system would not recognize that a chunk (part of the job) was successfully finished, and went on to render the same chunk again and again, over-writing the files that were created the previous time.
After some frustrations and endless checks,
I wrote a message to the RenderPal support and it appears the ‘Blender renderer” that is the RenderPal module that interfaces with blender, was outdated,
They sent me a new version of the module with instructions how to update it (very simple), so I did and the problem was solved.

Animating visibility in Blender

Software:
Blender 2.78

When setting key-frames to an object’s Visibility or “restrict view-port visibility” property,
Its easy to forget that it doesn’t affect the visibility in rendering but only in the view-port display.
This gave me some really nasty glitches in production when rendered animation turned out different than what I had expected.

Simple solution to that is:
Whenever an object’s visibility needs to be animated,
First thing to do is to set a Driver for the “restrict rendering” property, that would be controlled by the “restrict view-port visibility” property.
That way the animation done on view-port visibility will automatically also control rendering visibility.
What’s needed is a simple single property driver which is very simple to setup and the huge headaches can be avoided that way.

There are plenty of video tutorials about setting up drivers in Blender:
https://www.youtube.com/results?search_query=blender+2.7+drivers

Renderability_Controlled_by_Visibility