Creating a Sprite Sheet in Animate

Software:
Animate CC 18

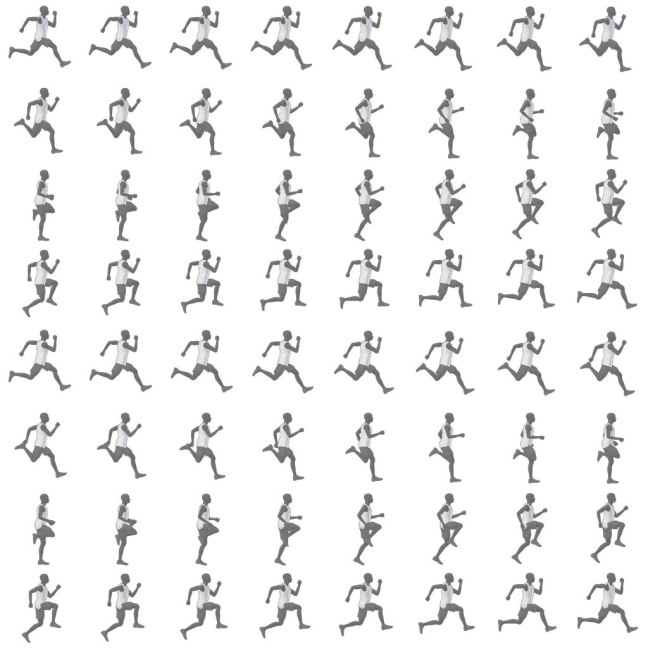
To generate a Sprite Sheet (Texture Atlas) in Animate:

  1. Create a new project.
    * the type of the project doesn’t matter.
  2. Drag all your animation frames from into the Library window in Animate.
  3. Select all the frames in the Library window.
  4. RMB Click the selected frames and choose Generate Sprite Sheet.
  5. In the Generate Sprite Sheet window, set the Sprite Sheet settings, output path and press Export.

Untitled-1.jpg

Untitled-2

Untitled-3

Runner_Atlas

3ds max – Unwrap UVW snapping to a defined grid

Software:
3ds max 2018

There are cases where we need to have the UV borders and edges placed precisely on a certain grid. an example of this is when preparing a UV layout intended for baked lightmaps in a game engine, that should preferably be aligned to a 64 by 64 or 128 by 128 grid.

To set the Unwrap UVW editor window grid to 64 by 64:

  1. In the Unwrap Options window:
    Set the Checker display to 64/20 which is 3.2.
    Set the Grid Size to 1/64 which is 0.015625 (the numeric field displays the value rounded to 0.016)
  2. Turn on the grid display in View > Show Grid.
  3. In the Unwrap Snap Settings, make sure Grid Snap is checked.
    * Hold and drag the snap button to open the Snap Settings.
  4. Activate Snap.

Note:
It works only in Vertex selection mode.

UV_Snap.jpg

Maya V-Ray GPU texture resizing

Software:
Maya 2018 | V-Ray 3.6

By default V-Ray for Maya, when Production Engine is set to CUDA (GPU), resizes all the textures to 512×512 in order to save GPU memory.
Naturally, this may cause the textures to appear blurry and lacking detail in the rendered image.

To avoid this,
In Render Settings > V-Ray tab > Production renderer,
Set GPU Resize Textures to Full Size Textures, so the textures will not be resized at all (but consume more memory),
Or On-demand mipmapping, so the textures data will be optimized to reduce memory consumption (but not quality) in a pre-render process.

Note:
To get full size textures in IPR mode, do the same in the IPR tab

Untitled-3

Untitled-2

Untitled-1.jpg

Create a richly colored metallic surface in UE4

Software:
Unreal Engine 4.18

One of the optical properties of many metallic surfaces is changing it’s color slightly as the surface viewing angle changes.
This effect can be simply created using a Fresnel node and a color-ramp texture.

Untitled-4

  1. Create a metallic material (metallic value of 1.0).
  2. Use an image editing software to create a linear color ramp texture (gradient) of the color change per viewing angle from left to right. like this example for a golden metal, and import it to your project.
    Ramp_Gold
  3. Add the ramp texture to the material Blueprint, and connect it to the material Base Color Input.
  4. Create a Fresnel node and set its Exponent value to 1.0 and its Base Reflect Fraction to a value of 0.0 so it will provide a linear angle blend value.
  5. Connect the Fresnel node’s output to the UVs input of the ramp texture node.
    * the reason the Fresnel node can be providing both the X and Y texture coordinates is that the texture’s Y dimension provides the same color for all values anyway.

Note:
When the Metallic property of an Unreal Engine material is set to 1.0, the material automatically simulates the metal’s color fading to white at parallel surface viewing angle (the sides) like it should.
So using a Color Ramp Texture like in this example creates an amplified effect.
* Simply put: You don’t have to have the Color Ramp fade to white on the right side of the texture..

Untitled-4

Untitled-3